


Add a newsletter sign-up form to Breena
By default, Elletta doesn't have a newsletter sign-up form included in the theme, however it is possible to add this functionality with the help of the Mailchimp for WordPress plugin.
In order to add a MailChimp newsletter sign-up form widget to your sidebar, you can follow the instructions below. We'll need to create a MailChimp Account, install the necessary plugin, and then set up your newsletter widget.

1 -. SIGN-UP FOR MAILCHIMP
First, please ensure you have signed up and created an account with MailChimp. Once you have done so, your account will be given a unique "API Key" number. This API Key is used to link your MailChimp account to your WordPress.
To find your MailChimp API Key: Log into your MailChimp account > Your Account Page > Extras > API Keys > Create a key.
2 -. INSTALL THE PLUGIN
Next, you'll need to install the MailChimp for WordPress plugin onto your WordPress.
Installing the Mailchimp for WordPress plugin: Log into your WordPress Dashboard > Plugins > Add New > Search for term "MailChimp for WordPress" > Install Now > Activate Plugin.
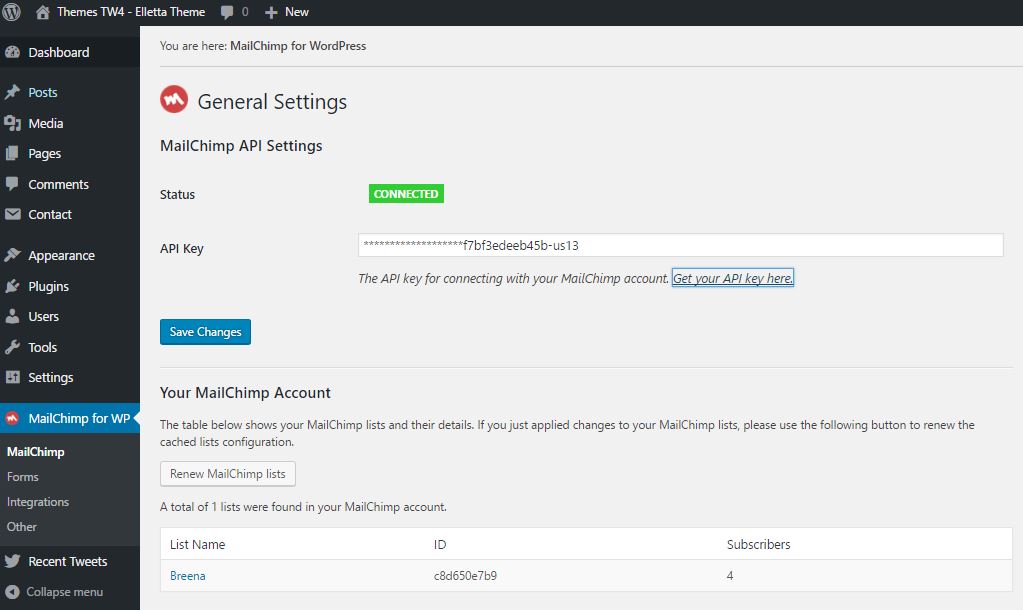
Once installed, navigate to the plugin's Settings page. Here, you'll want to copy and paste your MailChimp account's API Key into the form and click "Save changes".
3 -. SETTING UP THE NEWSLETTER WIDGET
To customize your newsletter form, you can navigate to WP Dashboard > MailChimp for WP > Forms. On this screen, you can determine just how your newsletter form displays.
Copy and paste the following HTML code into the box on this page:
<p>
    <label>Subscribe to my Newsletter</label> /* this line is optional */
    <input type="email" id="mc4wp_email" name="EMAIL" placeholder="Your email address" required="">
</p>
<p>
    <input type="submit" value="Subscribe">
</p
This will have your widget display a heading of "Subscribe to my Newsletter", an email input field, and a submit button. Save changes when finished.
4 -. INSERT THE WIDGET
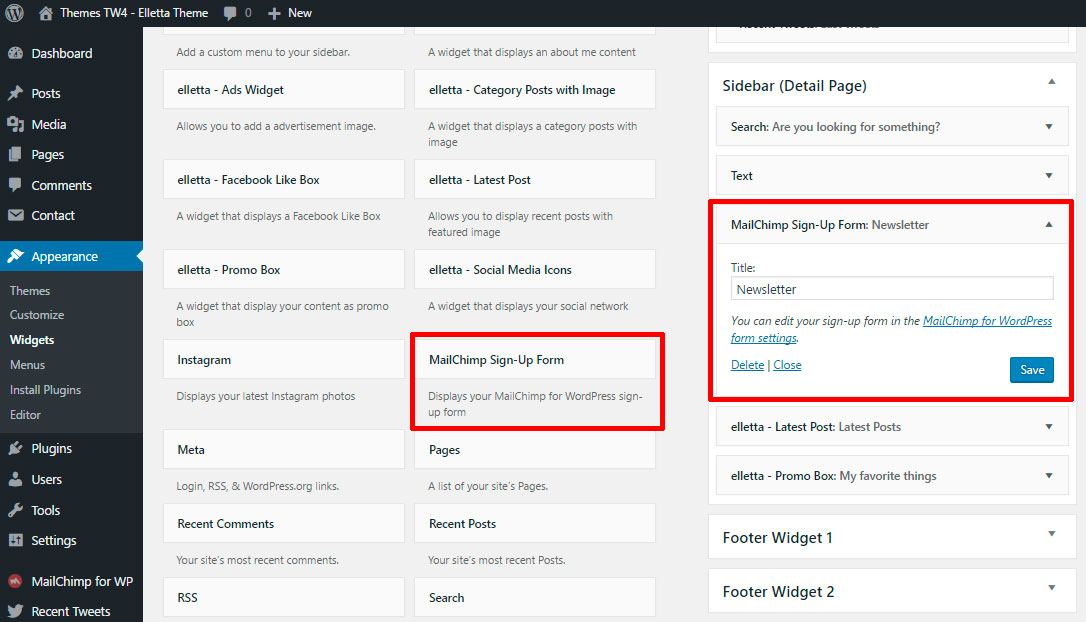
Lastly, navigate to WP Dashboard > Appearance > Widgets.
A new widget titled "MailChimp Sign-Up Form" will have appeared. Drag and drop this widget into your Sidebar or Footer area.

If you'd like help changing the colors or styling of the newsletter widget, feel free to open up a new support ticket and let us know!